
After recieving many requests of how to create floral brushes in photoshop here is a tutorial , this tutorial has a source psd file with all the shapes in layers as wellas a brushes file which we will be creating by the end of the tutorial.

Step1
Creating Basic Stems
Start off by creating a new document , i will recommend creating a well big enough document as this will help you to create bigger resolution brushes.
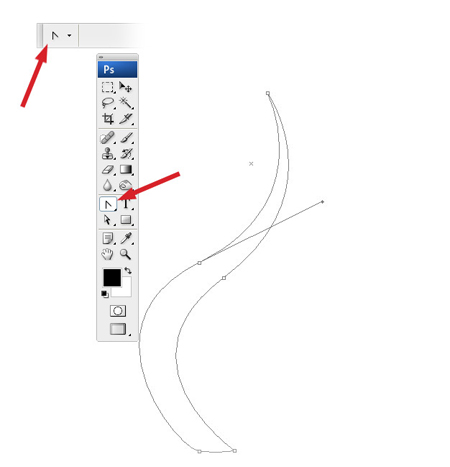
Select the pen tool (P) and then using the path tool create a basic shape.
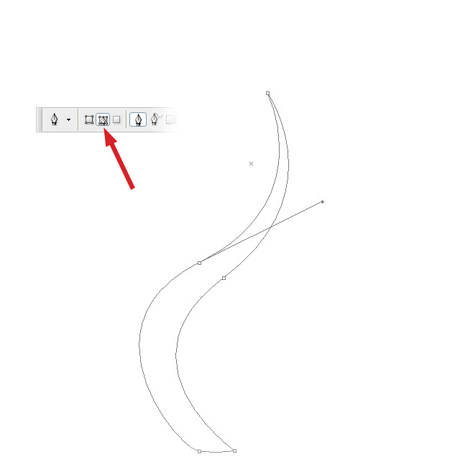
At this point it will not be perfet you need to adjust the handles of convert Point tool in order to shape it up
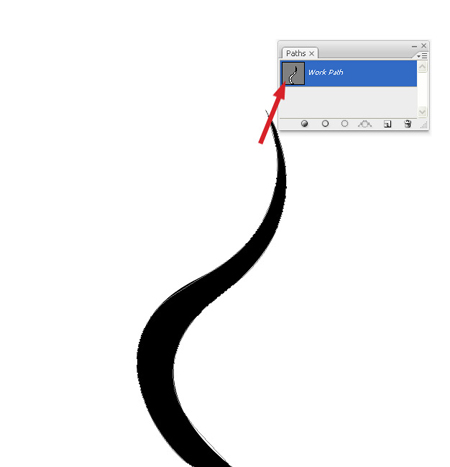
open up your Path pallette and do the following , right click the current path > fill Path > select black colour
Hit Delete to get rid of the path.
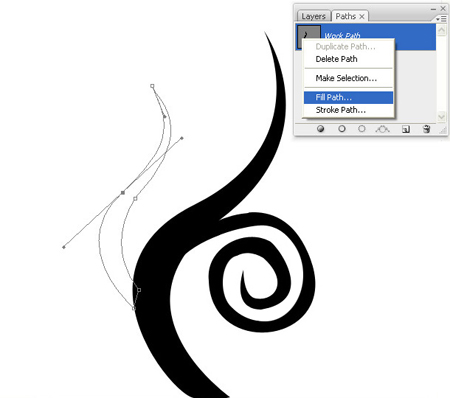
Create a new layer , using the pen tool create another path. adjust its shape by using Convert Point Tool .

right click in your paths window and fill the path
Repeat the process and draw a few more shapes.

once you fill it up you can hit del to delete the path . Keep in mind to create a separate layer for each shape.
Step2
Creating a Leaf
Use Pen tool ( P ) and create another path on a new layer

right click the path and fill it up with black colour

hit del to delete the path
over the same leave draw another shape Same layer

right click path > fill path > white colour > hit delete

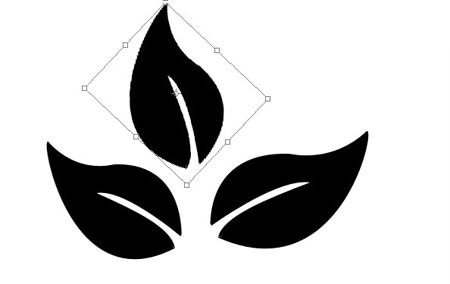
Step3
Creating Petals Set
at this point you can just select white part and delete that as well. so your news leaf will have a cut.
copy this layer of leaf and arrange it into a shape by duplicating & Transforming .
you will have plenty of leave copies click on the layers thumbnails and group them.
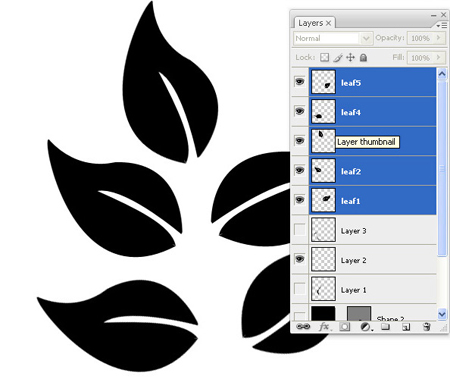
This is our leaves set.
Step 4
Creating Brushes
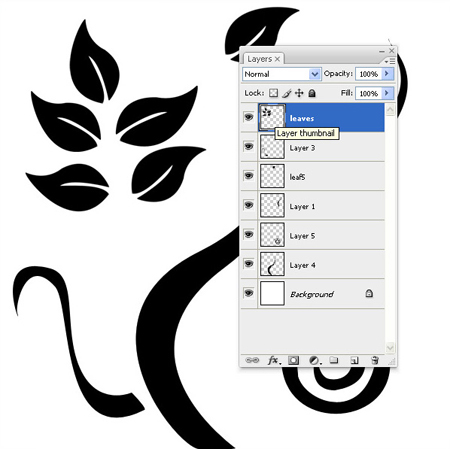
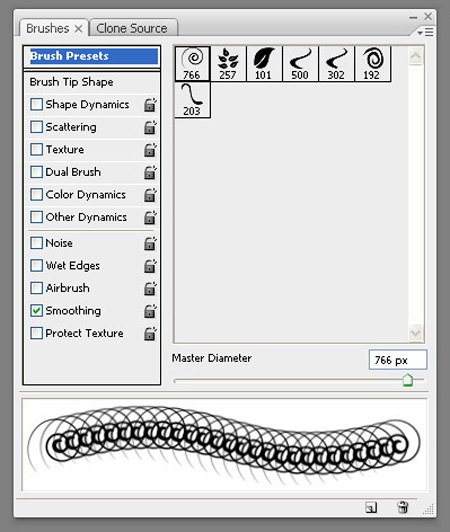
Since all our shapes are in separate layers we will now convert them to brushes.
Here is a break down of all othe layers separated.

i will duplicate one of the leaves and will merge the GROUP of leaves as one layer.
Start by selecting pixels of any layer.
Edit > Define Brush Preset > name it and save
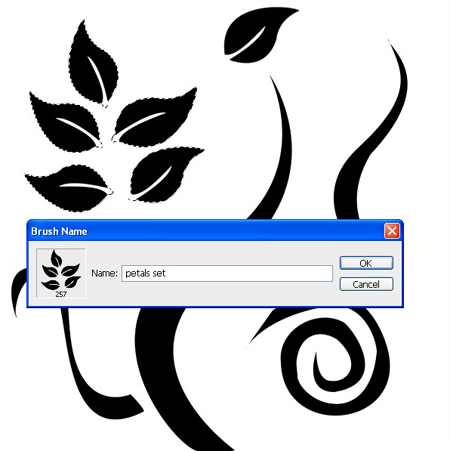
Follow the same procedure and save all the stem and leave shapes as brushes.
You should now be able to see your brushes saved in the brush pallette.
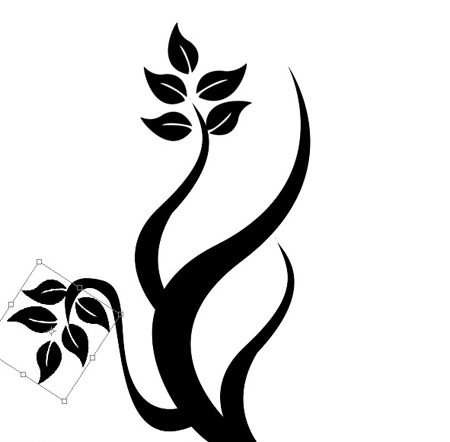
Step 5
Using the brushes
you are not done here these are the basic shapes that we have created with just these brushes you can create unlimited floral patterns and save them as More brushes which you can use later. Consider these as your baisic Pen tools with which you can create unlimited bushes and florishes.
Stamp each brush in a separate layer so you can transform its size if required .
 .
.
Final out come
This is my 5 mins rendering after these brushes are created!
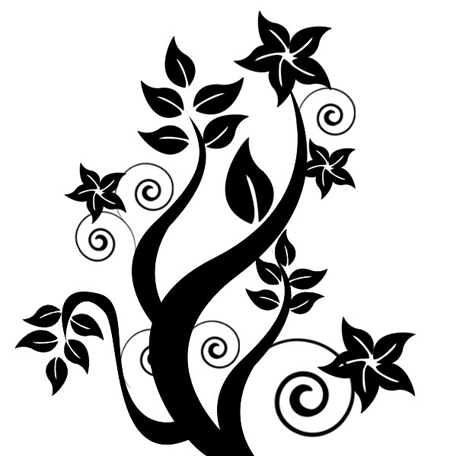
dragged over a background.
And ofcourse once you have one BUSH created ,you can flatten layers and drag and drop to your artwork where ever you please
OR make a new brush!
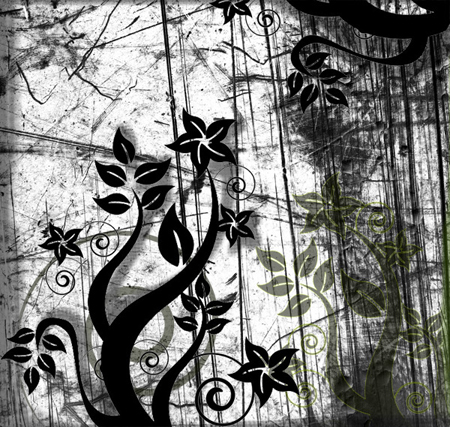
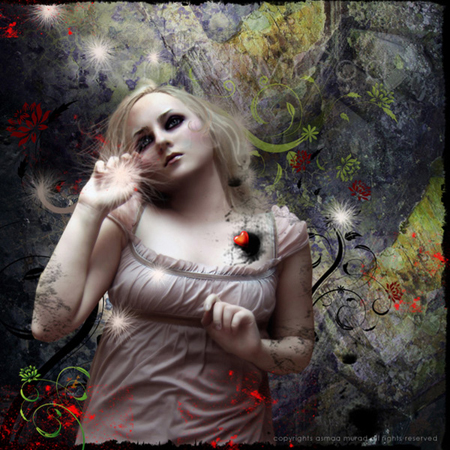
Example Artwork
here is an example of an artwork using such brushes.


Post a Comment