
Christmas ornament balls - part 1
For the beginning create a new file (File>New) of 1280x1024 px and 72 dpi. Select after that the Paint Bucket Tool (G)
Paint Bucket Tool (G). "" The Paint Bucket tool fills adjacent pixels that are similar in color value to the pixels you click.'); return false">Paint Bucket Tool (G) and give the new file the color #7EC21D

Next select the Rectangle Tool (U) and represent several vertical lines that will form the wallpapers. The color’s code is #008C7F

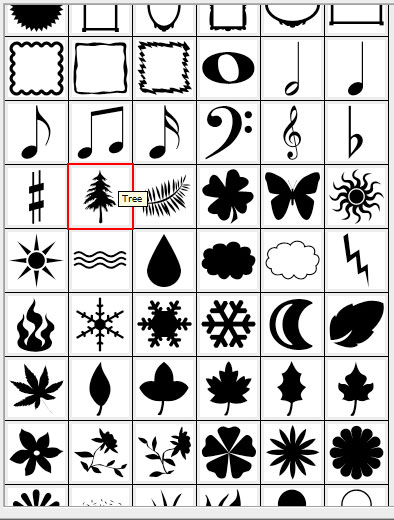
Next choose the Custom Shape Tool (U)
Custom Shape Tool (U).
 You use the shape tools to draw lines, rectangles, rounded rectangles, and ellipses in an image. In Photoshop, you can also draw polygons and create custom shape libraries to reuse and share custom shapes.
'); return false">Custom Shape Tool (U) and pick up a fir tree’s figure:
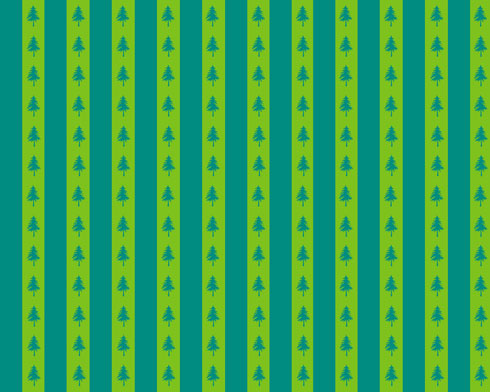
Place them on the basic picture by copying them firstly (Ctrl+J) as it is represented below, selecting the color of the lines.
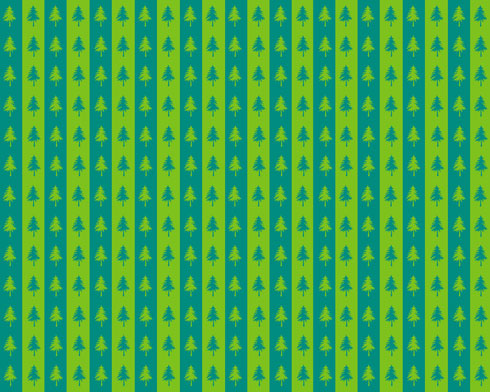
Place them also on the lines, choosing the color of the background this way getting the wallpapers we want:
Next take the Ellipse Tool (U)
Ellipse Tool (U).
 Use the ellipse tool to draw ovals and circles. To draw a circle, hold down the Shift key while dragging. Double-click the ellipse tool to open the Color inspector.'); return false">Ellipse Tool (U) and draw three circles of the same sizes, later becoming nice fir tree’s balls:
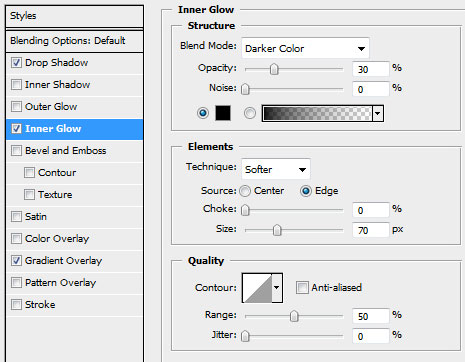
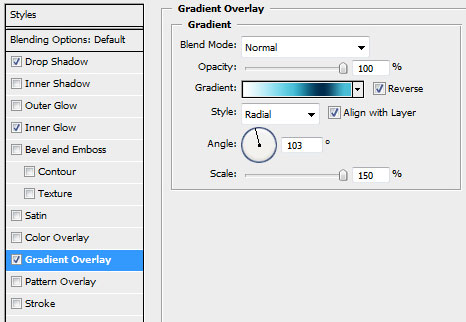
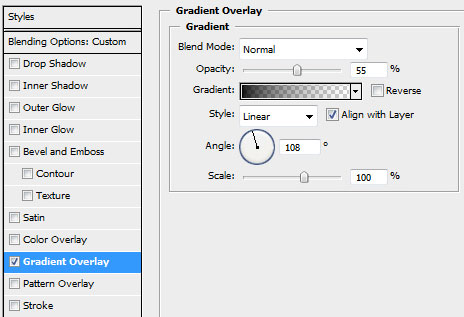
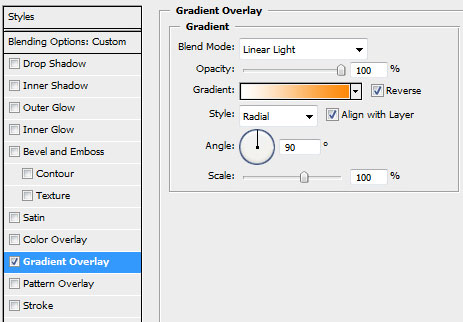
Set the next Blending Options>Drop Shadow for the very top circle by making a mouse click on its layer on the layers’ panel:
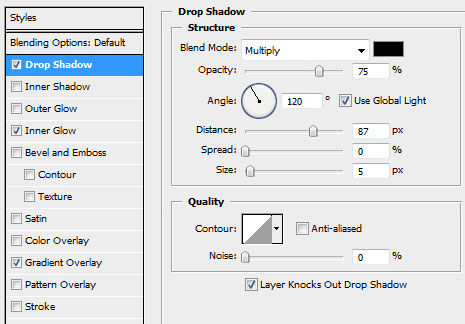
Follow all the settings from below:

We’ve got finally a ball:

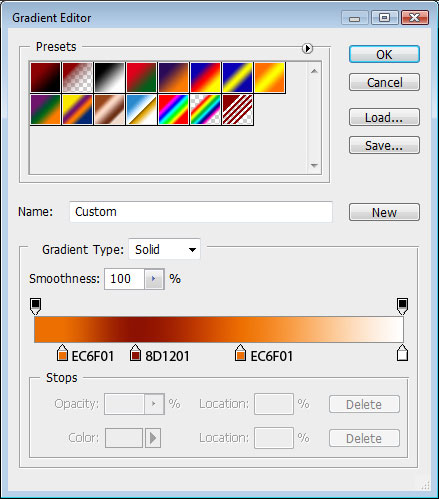
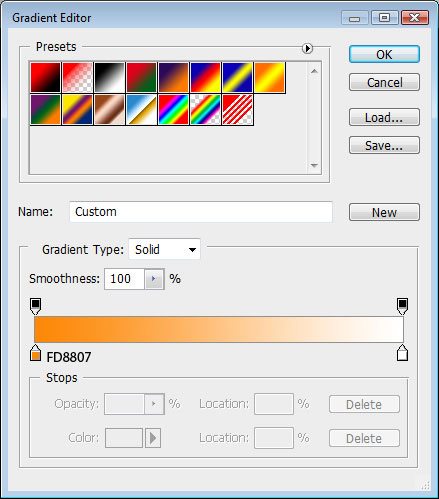
Do the same operations with those two circles too, but change their gradients. The rest of the settings are the same with the first one:
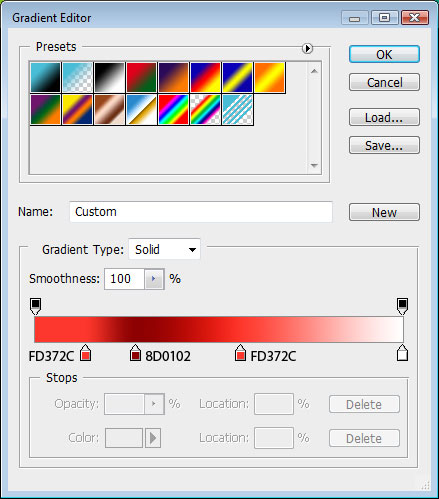
You should get the same thing from below:

Christmas ornament balls - part 2

Take now the Line Tool (U)
Line Tool (U).
 The line tool is used to draw straight lines on the canvas. It is pretty intuitive, you simply choose the line tool from the toolbox, click once on the canvas to specify the beginning point of your line and then drag the mouse to define the line extending from the starting point.'); return false">Line Tool (U) and represent the toys’ threads:
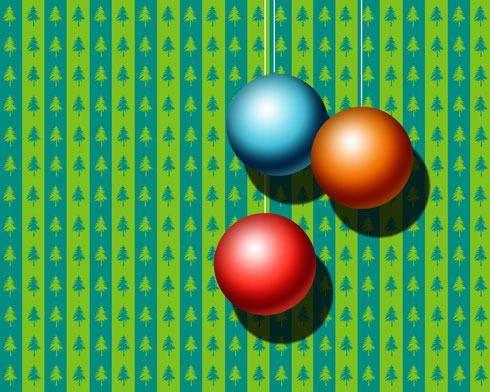
Select the Rectangle Tool (U) and stretch out the figure on the whole canvas. Fill 0% on the layer on the layers’ panel and set the next demonstrated Blending Options:
The new layer we’ve got must be situated under the layers containing the balls and the threads:

Now let’s decorate the balls. Select again the Custom Shape Tool (U)
Custom Shape Tool (U).
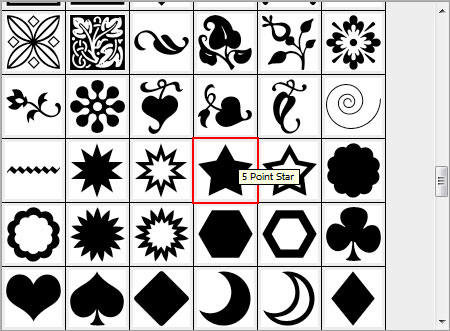
You use the shape tools to draw lines, rectangles, rounded rectangles, and ellipses in an image. In Photoshop, you can also draw polygons and create custom shape libraries to reuse and share custom shapes.'); return false">Custom Shape Tool (U) and choose on the top panel the star and the snowflake figures:
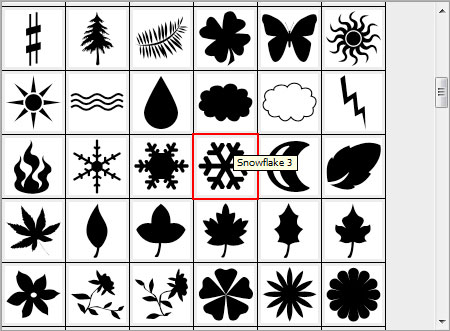
Select for the beginning the snowflake and represent a kind of decoration like the next one. Its color’s code is #5E0B61. Mark out all the layers with the snowflakes applying the (Ctrl+Left Click) on the layers’ palette. Then press Ctrl+E for the layers to be put into a single one. Erase the elements coming outside the ball’s edges, applying the Eraser Tool (E)
Eraser Tool (E).
 The Eraser tool changes pixels in the image as you drag through them. If you\'re working in the background or in a layer with transparency locked, the pixels change to the background color; otherwise, the pixels are erased to transparency. You can also use the eraser to return the affected area to a state selected in the History palette.'); return false">Eraser Tool (E).
Next, let’s place the stars on the picture:

Put together all the layers containing the stars as we did with the snowflakes’ layers. Set the next gradient’s parameters:
The unnecessary elements should be erased. You should get the next picture on this stage:

Now let’s make several lines we as we did with the wallpapers. The color’s code is #0B296F. Put together all the layers, applying the next transformation (Ctrl+T). Click on the right mouse’s buttons, choosing the Warp option. Fill 40% on the layers and select Blending mode-Linear Light
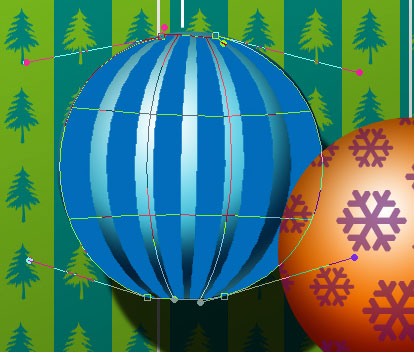

The final result!


Post a Comment