
Start working by creating a new file (File>New) with 1280x1024 px and 72 dpi.
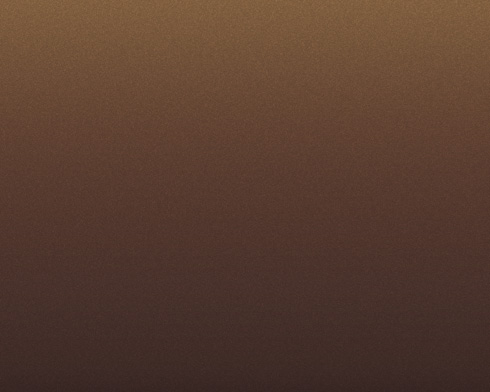
Using the Rectangle Tool (U), try to make the background of the picture we want to get.
Apply the next shown parameters on this layer (clicking on the layer on the layers’ palette).
Blending Options>Gradient Overlay
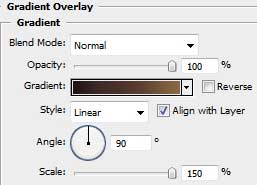
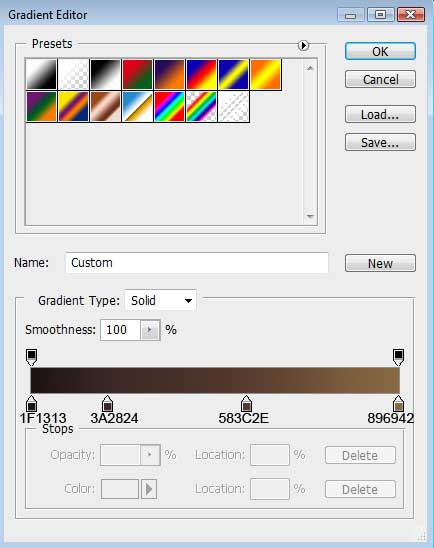
Gradient’s parameters:

Create a new layer where we should use the Paint Bucket Tool (G)
Paint Bucket Tool (G).
 The Paint Bucket tool fills adjacent pixels that are similar in color value to the pixels you click.'); return false">Paint Bucket Tool (G) to give it the black color.
Set on the layer Filter>Noise>Add Noise
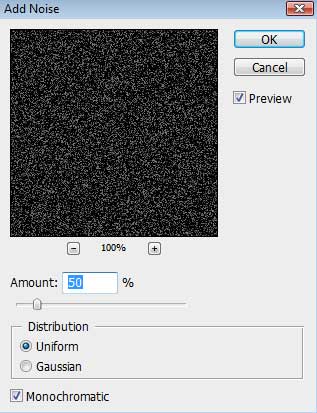

Set for the same layer the next parameter: Fill 50%
Blending mode-Color Dodge
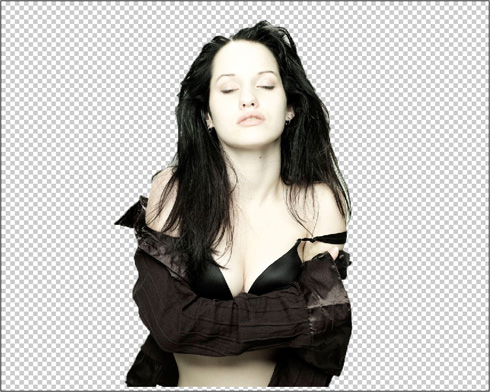
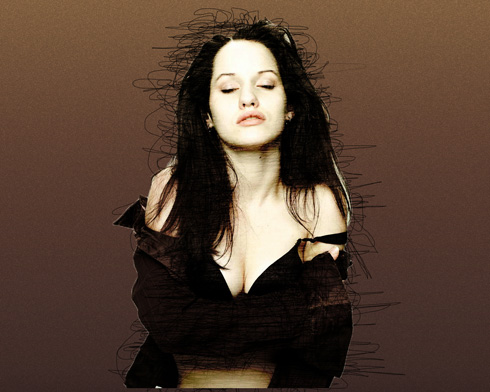
Find in Internet a photo having pictured on it a young girl:

Cut her figure out of the old picture and insert it on the new one:
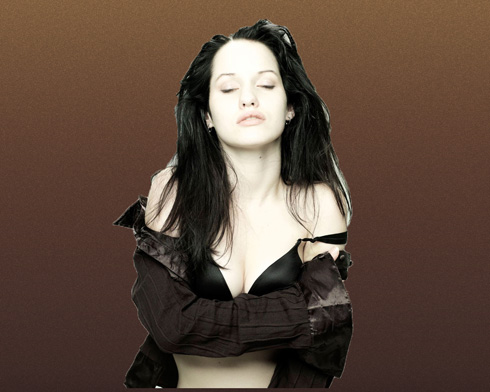
Select the next parameter for the girl’s layer: Blending mode-Hard Light
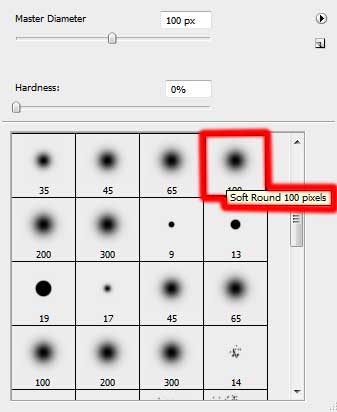
Create a new layer on which we should use a standard brush (Brush Tool (B)
Brush Tool (B).
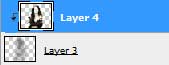
 The brush tool is used for making good backgrounds and also on new layers they have different types so that you get a different effect with every brush you use.'); return false">Brush Tool (B)) to represent alternative disordered strokes over the girl’s image. The brushes have black color and the new layer should be placed lower than the girl’s layer on the layers’ palette.
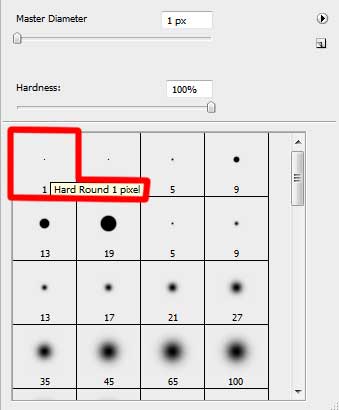
Press Alt button and make a mouse click between the girl’s layer and the layer containing the black strokes (on the layers’ palette), continuing stroking the girl’s image.
Make a mouse click on the girl’s layer on the bottom part of the layers’ palette on Add a Mask option and then select a standard brush of black color to erase the unnecessary parts of the same strokes.
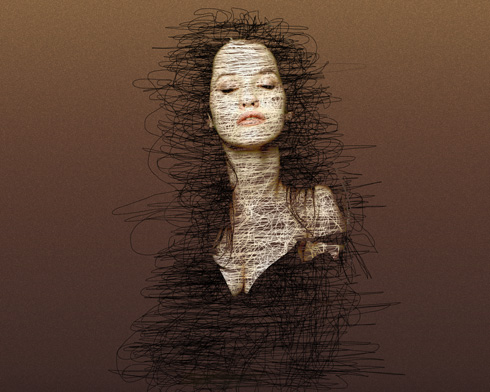
Create a new layer again, applying on it a standard brush of 1 px and hardness 100%, of white color to draw strokes around the girl’s image:

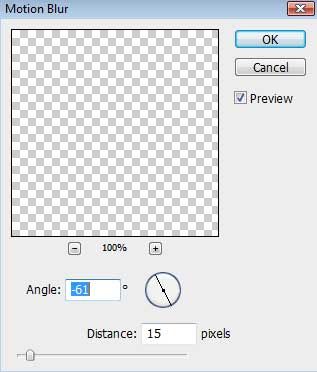
Set for the layer containing the white strokes the next option: Filter>Blur>Motion Blur
Select also for the same layer the next indicated parameters: Fill 30%

Create another new layer on which we shall apply the next setting: Filter>Render>Clouds

Set for the same layer the parameters from below: Fill 70%
Blending mode-Color Dodge
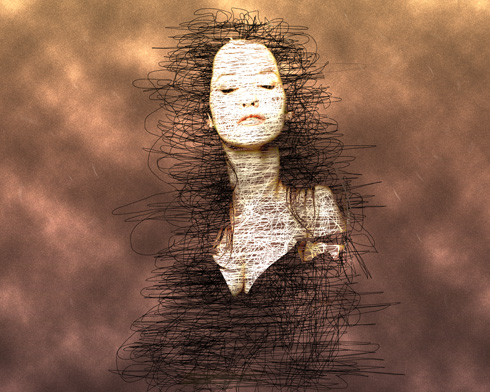
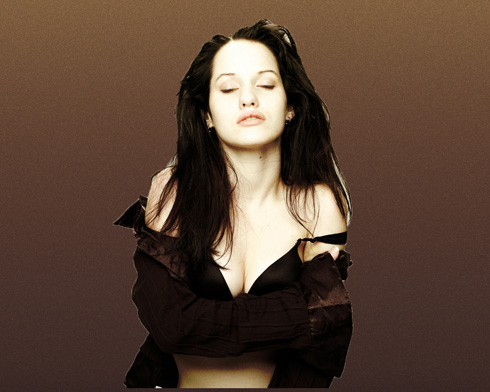
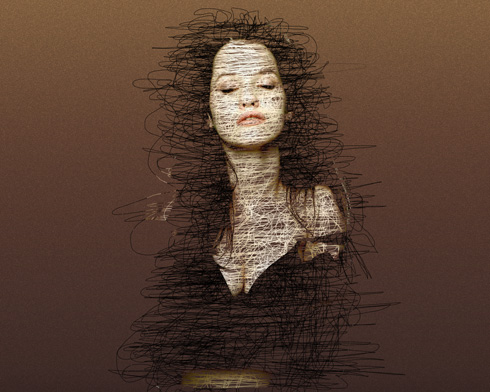
Make a mouse click on the same layer on the bottom part of the layers’ palette on Add a Mask selection and then choose the usual standard brush of black color to clean out the upper half of the picture.


The picture is finished!


Post a Comment